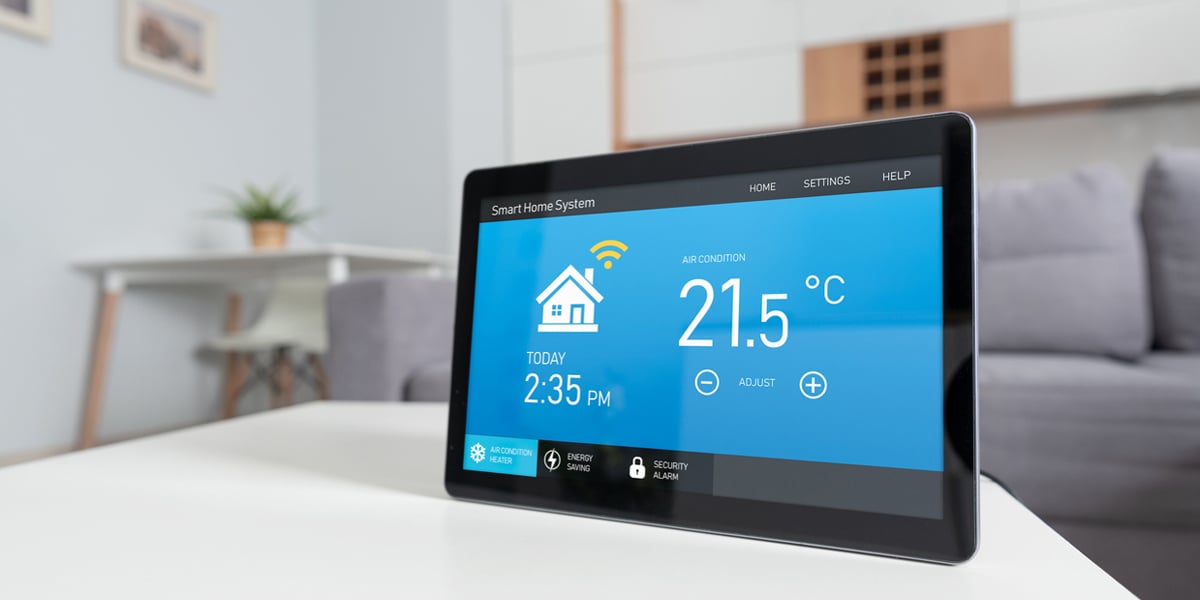
The concept of smart homes is not new in this modern age of technology. Now you can control nearly every function within your home, from closing blinds upstairs to lighting and thermostats, all while sipping your mojito, enjoying your favorite show on Netflix.
But rather than use a ton of various smart apps and devices to control each individual device, the best means is to use one comprehensive device that brings them all together. Currently, there are a couple of devices, both iOS and Android, that can make this happen. You can even use handheld remote controls or in-wall touchscreens. But nothing quite does it as efficiently as the iPad. Other than being a fully-fledged computer, it has one of the most familiar operating systems out there, so almost anyone can get around.
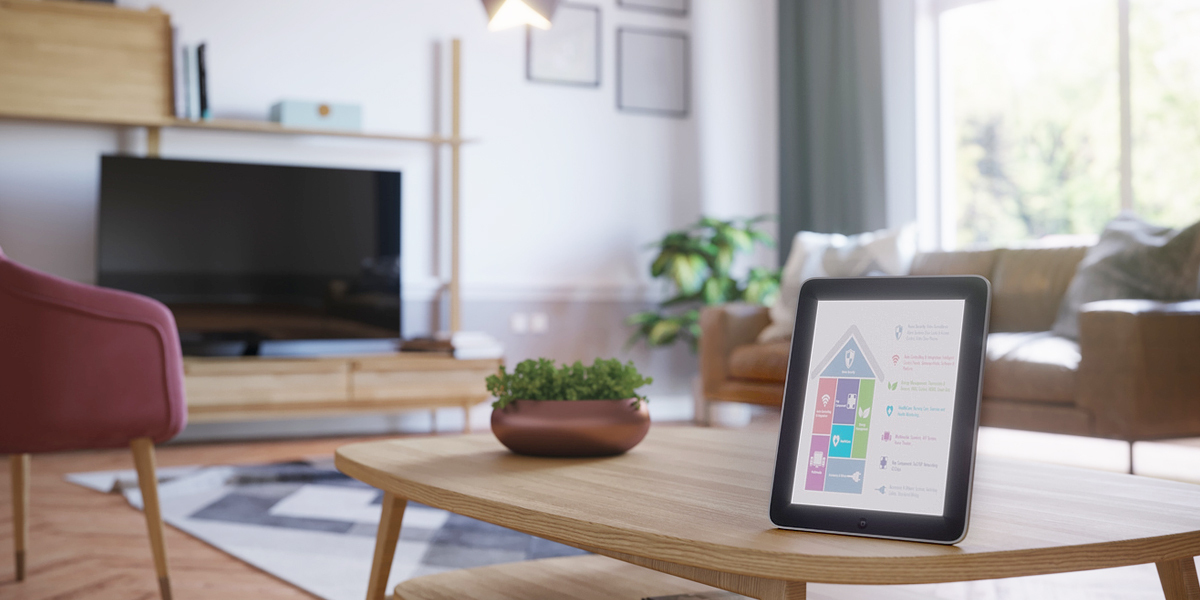
If you are reading this, you probably already have an iPad at hand, but the question remains, how do you interconnect all these devices in one central hub?
The Apple Homekit
The best part about iPads for smart homes is that they come already pre-installed with an iPad control center – namely, the Apple Homekit. It is basically an all-inclusive platform built into the iOS system that brings all your home apps together. This includes all your mobile devices, like your iPhone, Apple Watch, Mac computer, and HomePod Mini, but it can also include other appliances like blinds, lights, and Air conditioning systems.
But there's a catch. To use the Homekit on your smart home, all the devices need to be compatible with the Homekit itself. Therefore, ideally, your first move should be to bag a few of these devices and integrate them with your smart home. The good thing is that, at the moment, there are a few hundred appliances in almost every category that you can purchase that are Homekit-enabled.
The controls themselves only work with Homekit enabled appliances that you connect to your apple's home app on your iPad.
How to Connect Your Devices to The Homekit
Most of these devices will usually connect to your iPad's Homekit app through Bluetooth or Wi-Fi. However, Apple recently introduced the Homepod mini, which brought the 'thread protocol' to the mix. The protocol allows the different devices, like thermostats and lighting, to work together in one interconnected network.
As you might expect from any Apple software, adding a device to the Homekit is really an intuitive and straightforward process. It falls down to a few simple steps:
- Start by accessing the Homekit app on your iPad
- Then pick up the compatible device you want to add to the connection. There will usually be a special six-figure imprinted on it or its box. Scan the code using your home app. By doing so, it should automatically pair the device to the home app
- Once paired, the devices will instantly pop up in the home up. You can assign the devices to rooms or mark them as favorites for quick access as you open the app's control center. You can even pin it to your lock screen for faster access.
Connect It All Together With One Control Station!
So, you finally got your iPad set up, and things are running smoothly. But the problem comes in setting up the iPad where everyone, even guests, can use it with convenience. Your best move will be to mounting it to a centrally located wall. It should be easily attachable or detachable for those moments when you want to use it on the sofa. You'll also need it to be close to a power source where it can charge.
Luckily, there are home app-based control-systems specifically built for this. IPORT for example, is specially customized to support your iPad while it's running multiple apps. The unit also holds and protects your iPad from anywhere in your home, keeping your device charged the whole time, while ensuring the design of the mount blends in with the design of your space. This way, as the iPad hosts all the apps and displays them on one screen, the IPORT system provides a customized dock so you can concentrate on just the essential apps for home control.